Do you have tons of pine cones from your last nature walk? This colorful splatter painted pine cone art project for kids is the perfect way to use them up! With a unique splatter painting technique, this project is super fun and delightfully messy. If your kids love getting outside and getting their hands dirty, this project is sure to be a hit!
How to Make the Splatter Painted Pine Cone Art
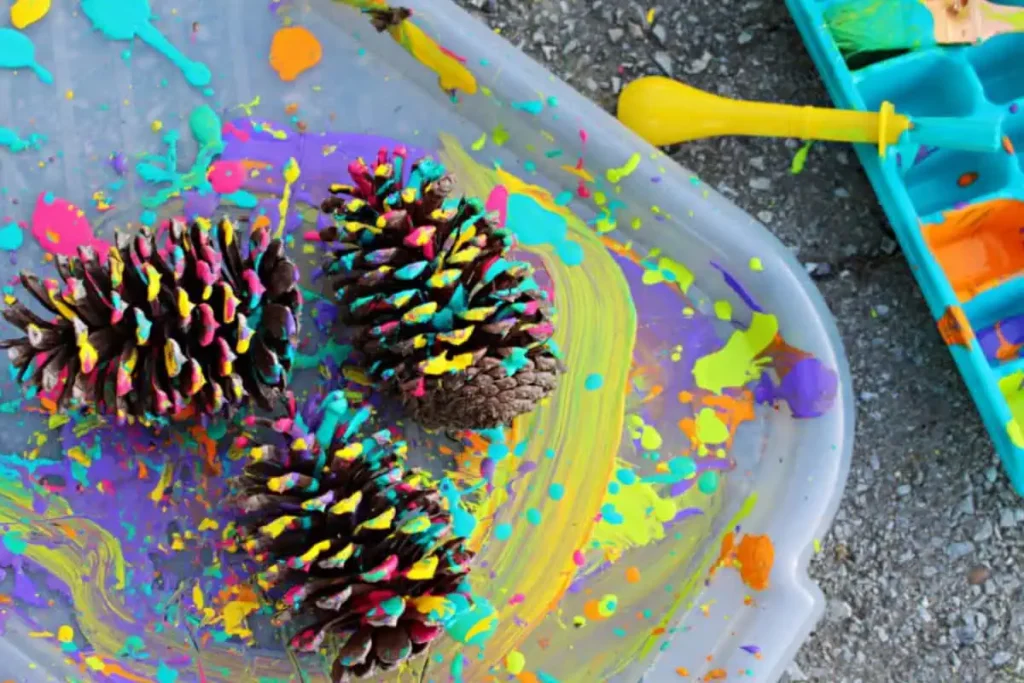
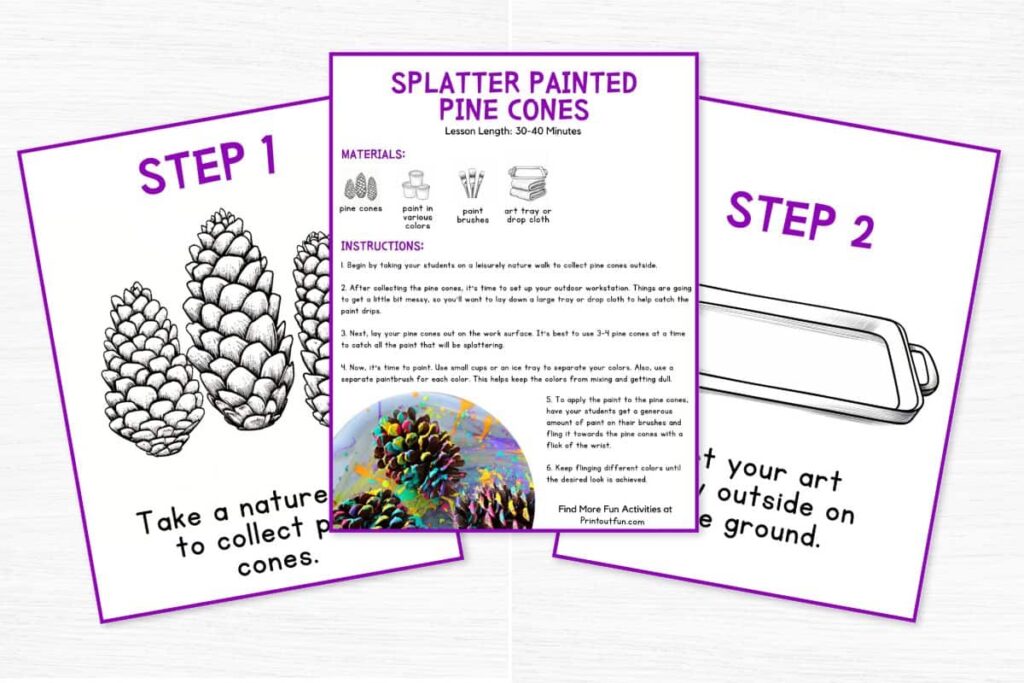
First, set up your outdoor work area. Lay down a drop cloth or use a tray to catch the paint splatters. Make sure the kids are wearing smocks or old clothes because this will get a bit messy!
Since the paint in this project flies pretty haphazardly, it’s a good strategy to use several pine cones at once. This way, more of the paint will land on the pine cones instead of being wasted. The more pine cones you use, the more random and exciting your project will be!
Painting Techniques
For this project, kids can try a couple of different methods of splatter painting. Both methods start with dipping your brush in a generous amount of paint.
To keep the colors bright, be sure to use a new paintbrush for each individual paint color. This will ensure the colors don’t mix.
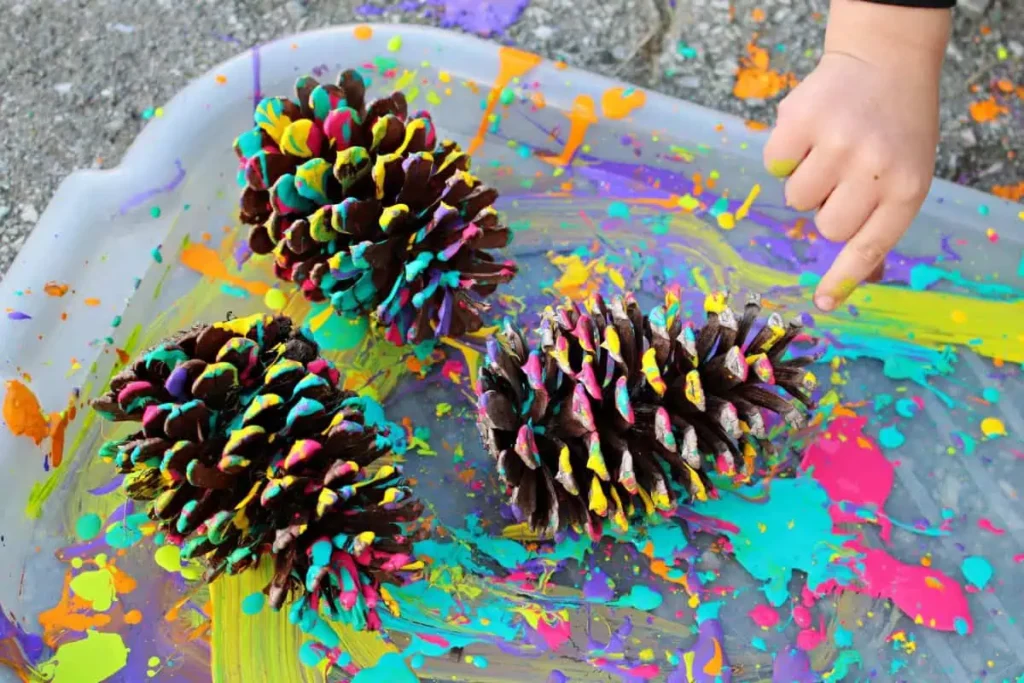
For the first technique, your kids will flick the loaded paintbrush at the pine cones with a quick wrist motion. This will send globs of paint flying onto the pine cones in a fun and random pattern.
Alternatively, they can run their thumb across the tip of the brush, while firmly grasping the brush between their fingers and palm. This will send smaller flecks of paint flying out over the pine cones. With this technique, kids are more likely to get paint on their clothes or skin, so be prepared!
Remember, the goal is to have fun and be creative. There’s no right or wrong way to do this project. Let the kids experiment with different colors and techniques. They can mix colors to see what new shades they can create. Encourage them to be bold and use lots of paint for the best splatter effects.
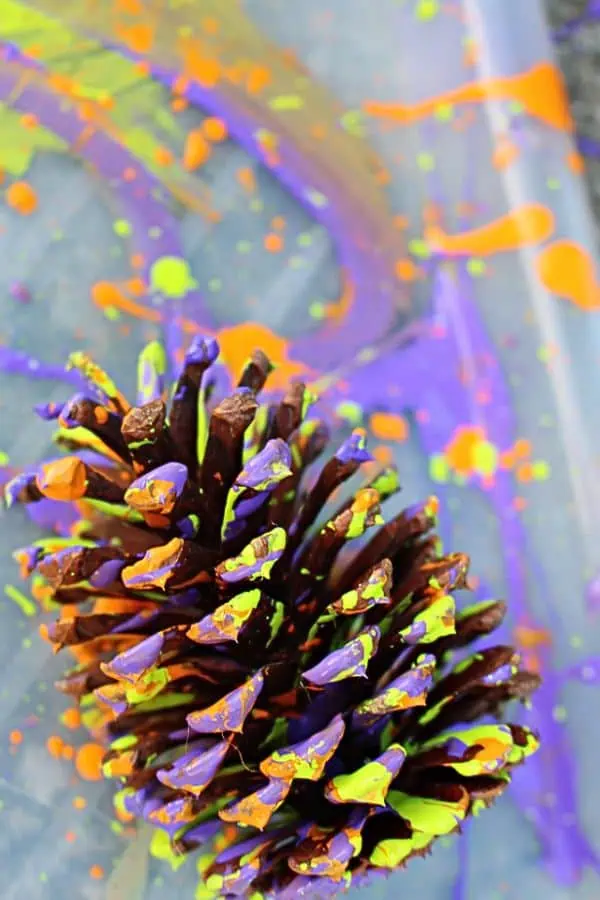
Once the pine cones are covered in bright splatters of paint, let them dry completely.
Needed Supplies
There will be affiliate links in the article below.
- Pine cones
- Washable paints in different colors
- Paint brushes
- Empty Ice tray to hold paints (optional)
- Tray or drop cloth for the work area (These trays work great for a variety of projects because they fit a full sheet of paper, unlike many others.)
- Printable Lesson Plan with Illustrated Instructions (at bottom of page)
Accommodations For Special Needs
For children in wheelchairs who cannot easily get onto the ground, you may need to bring a table outside so this activity can be at their height. Also, be sure to have a grabber on hand for collecting the pine cones.
For students with fine motor or tone issues, you may need to add foam tubing to the paintbrush handles to make them easier to grasp.
What To Do With Your Splatter Painted Pine Cones
There is nothing worse than your kids making tons of art that you now have to find a place for. Thankfully, these pine cones will look beautiful displayed in a bowl or scattered around the table at your next party. Splatter them with seasonal colors to tailor them to a fall or Christmas theme.
These pine cones will also make the perfect decoration for any Christmas package. And of course, they can also add a pop of color to your Christmas tree by adding a simple string for hanging.
Grab your Printable Lesson with Illustrated Instructions Here
Sign up for our newsletter and grab this free thank-you gift: a printable illustrated instructions sheet. In addition to written words for teachers and parents, it includes simple illustrations to help the kids follow along.
So next time you come home with a bag full of pine cones, grab some paint and try this fun splatter-painted pine cone art!
More Nature Art Projects For Artsy Kids
Not-So-Scary Monster Leaf Project For Halloween